Install and set up
Install
You can also use the direct install links for the current version (1.11):
- Sandbox and scratch orgs: https://test.salesforce.com/packaging/installPackage.apexp?p0=04tPg000000aggfIAA
- Production and Developer Edition orgs: https://login.salesforce.com/packaging/installPackage.apexp?p0=04tPg000000aggfIAA
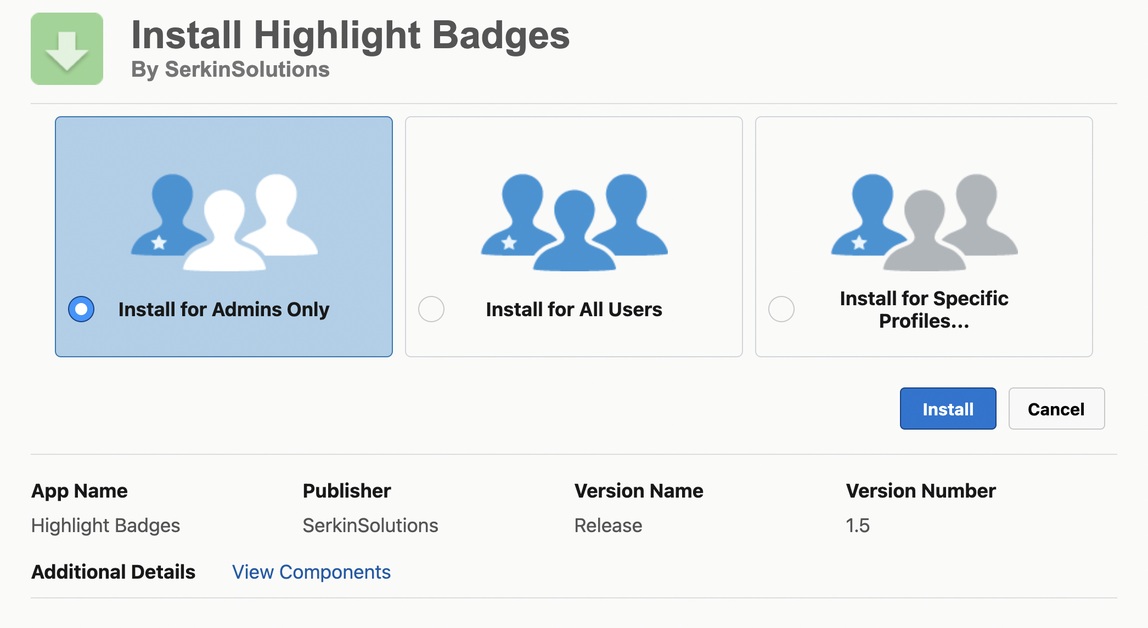
- Choose Install for Admins Only.
- Click Install.
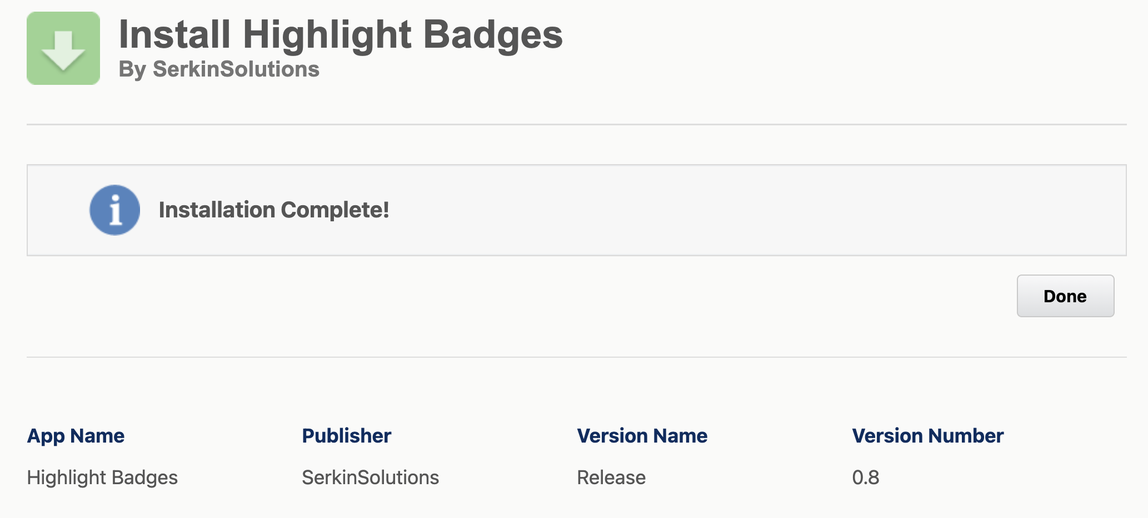
- When installation is complete, click Done.
After installing
1. Assign permission sets
Go to Setup → Permission Sets and assign one of the three permission sets included in the package.
| Permission Set Name | Description |
|---|---|
| Highlight Badges Viewer | Ability to view the Highlight Badges component on record pages |
| Highlight Badges Admin | Highlight Badges Viewer access, plus the ability to configure Highlight Badge Definitions |
| Highlight Badges Starter Packs Admin | Highlight Badges Admin access, plus access to view, modify, and import Highlight Badges Starter Packs |
For a field-by-field breakdown of each permission set, see User security.
2. Add the component to pages
The Highlight Badges component can be added to any record page, app page, Flow screen, or Experience Cloud page. In Lightning App Builder, search for Highlight Badges in the Components menu, and drag the component to a preferred location on the layout.
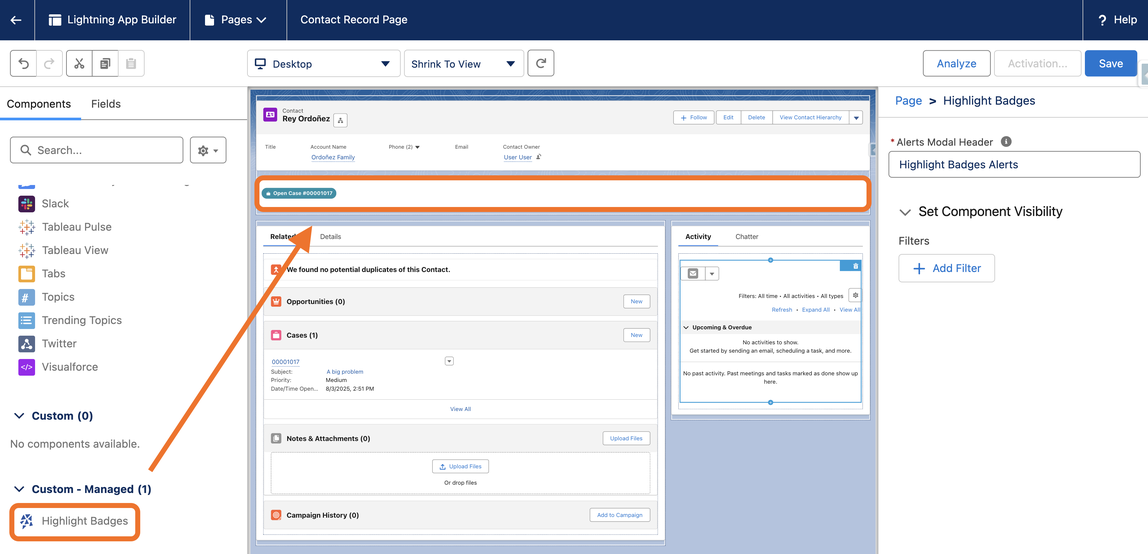
NOTE: If you haven’t set up any Highlight Badge Definitions yet, this should look like an empty container in Lightning App Builder.
Click Save.
For Flow screens, app pages and Experience Cloud pages, see Page contexts.
3. Build badge definitions
That’s it! You’re ready to set up your first Highlight Badge Definition. See Build a badge definition in the user guide.